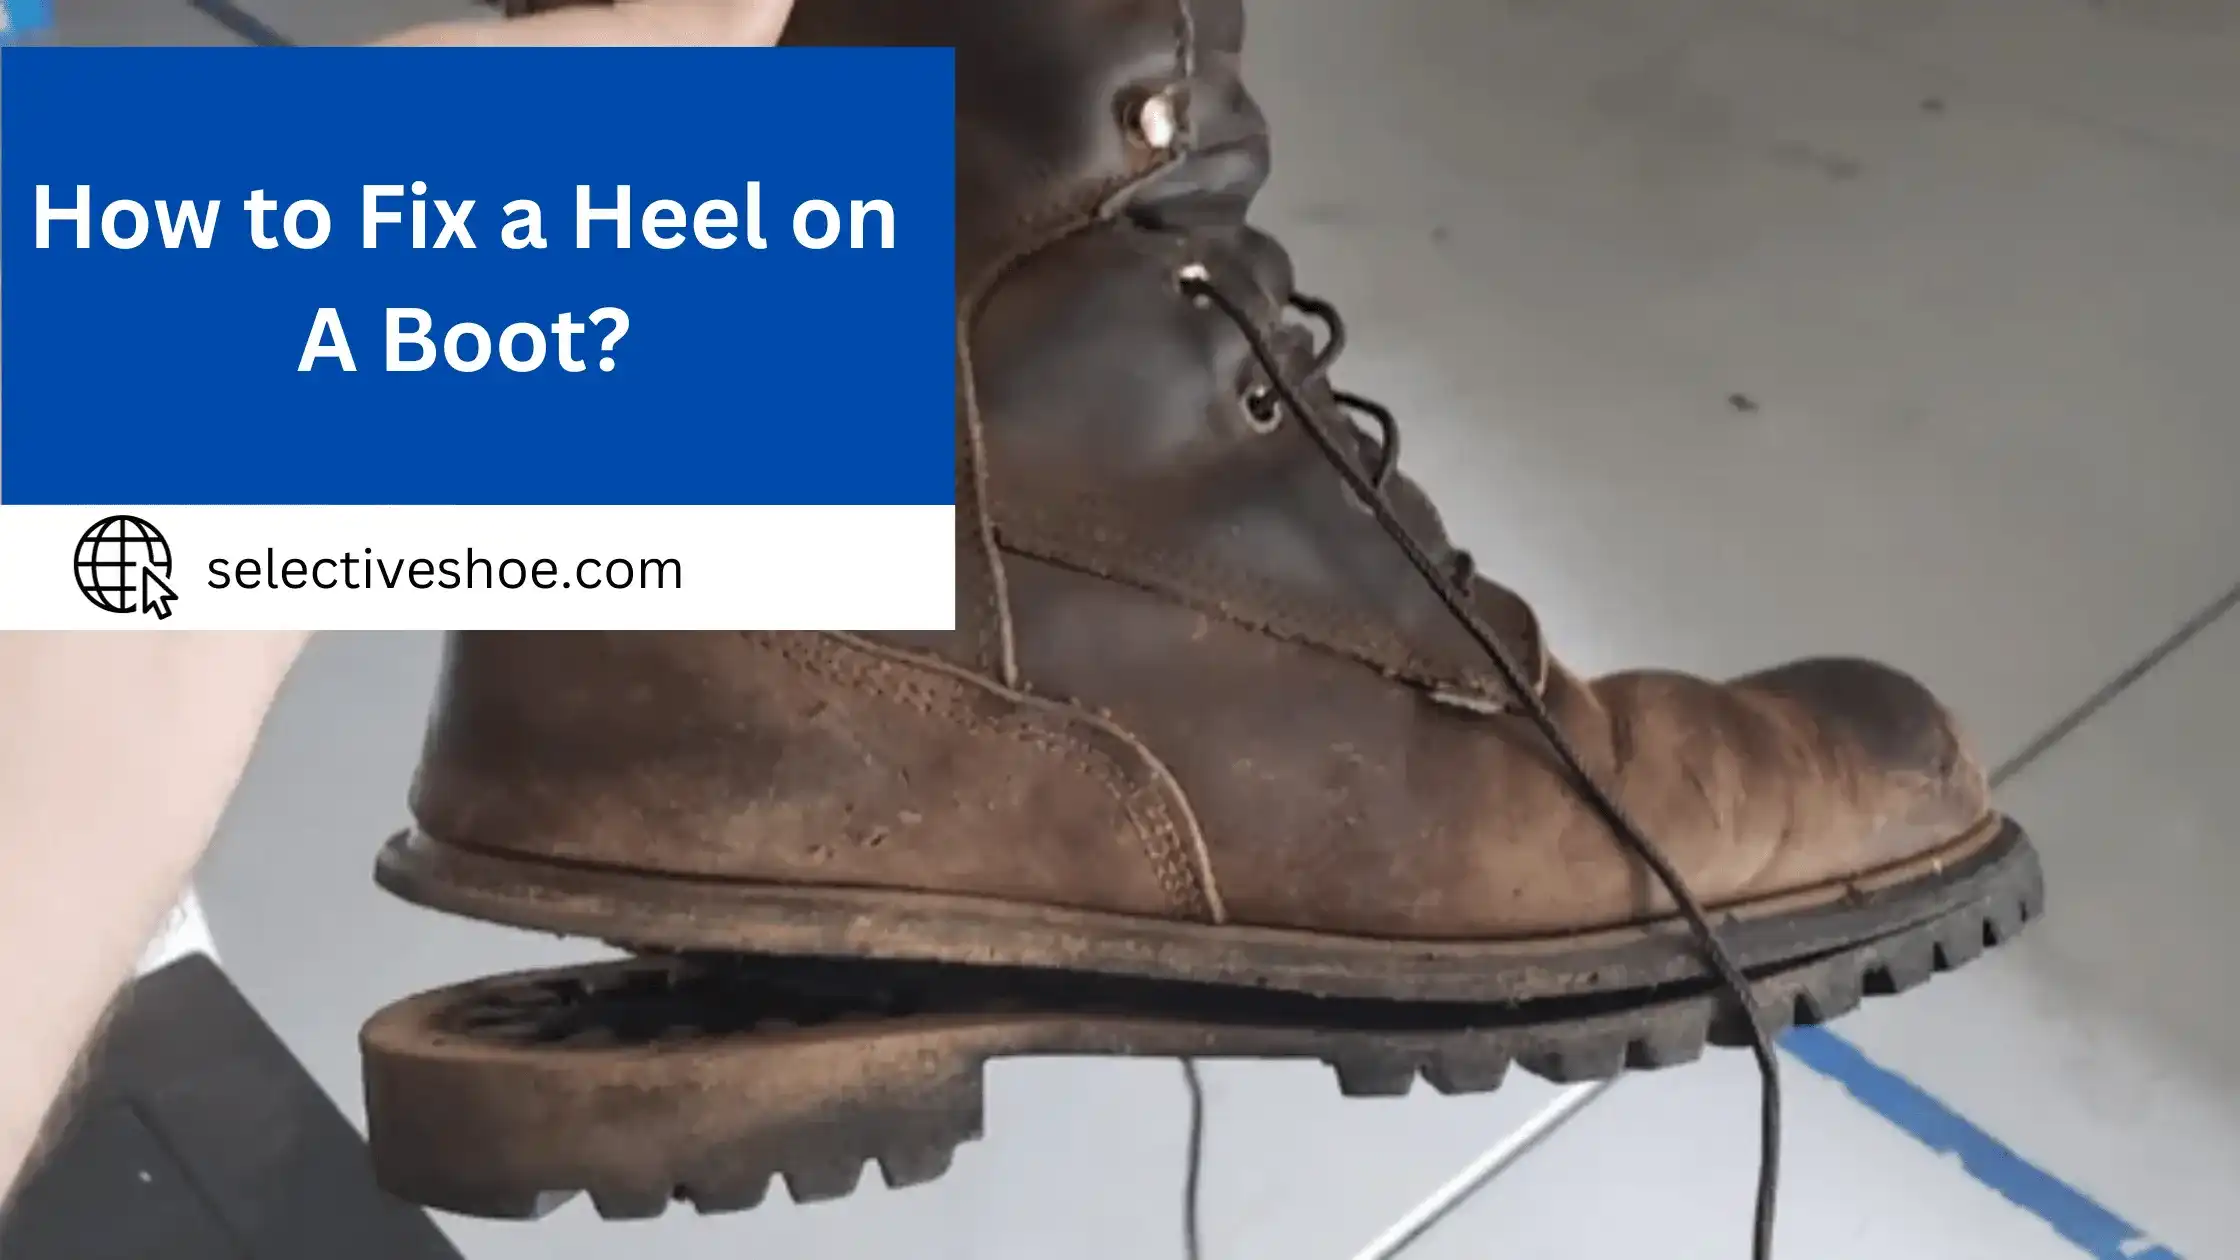
As a shoe lover, nothing is more disappointing than my beloved boots beginning to show their age. I recently had a particularly upsetting experience when one of the heels on my favorite boot fell off, and I had no idea how to fix it until now!
After spending countless hours researching, observing professionals, and trying out ways to fix the broken heel, I have finally come up with the perfect solution for repairing shoes. Now, I will share what I’ve learned from my hands-on experiments and research so you can repair your beloved footwear without any hassle. So let’s get started!
Gathering the Necessary Supplies:
First, I gathered all the necessary supplies. Here’s what I used:
- A Replacement Heel or Heel Cap
- Strong Adhesive
- Sandpaper
- Clamps
- A Clean Cloth
- Rubber Gloves
- A Utility Knife or Scissors
- Protective Eyewear
Step-by-Step Guide on How to Fix a Heel on a Boot?
Here’s a step-by-step guide based on my experience, detailing what you’ll need and how to go about the repair.
Preparing the Heel and Boot:
I started by removing loose parts of the existing heel or old glue clinging on. If the heel was still partly attached, I used a utility knife to detach it carefully. Then, I sanded both the bottom of the boot and the surface of the new heel to create a rough texture that would help the glue bond more securely.
Applying the Adhesive:
Next, I applied a solid adhesive to both the boot’s heel area and the replacement heel. Following the glue’s instructions regarding ventilation and drying time was essential. I learned from a previous mishap that more glue could make the repair more manageable and effective.
Attaching the Heel:
After applying the adhesive, I carefully aligned the new heel with the boot’s sole, pressing it firmly into place. It was essential to do this step quickly before the glue started to set.
Clamping the Heel:
I used clamps to hold the heel in place. I didn’t have shoe-specific clamps, so I improvised with some woodworking ones, using pieces of cloth to protect the leather from any marks. I checked to ensure the heel was still properly aligned after clamping.
Wiping Away Excess Glue:
A bit of adhesive squeezed out from the sides, which I wiped away with a cloth before it hardened. This kept the repair looking clean and professional.
Letting the Glue Cure:
The waiting game began. I followed the adhesive’s instructions for curing time, which was about 24 hours. It was tempting to check the bond early, but from experience, I knew that disturbing it too soon could weaken the repair.
Trimming and Finishing:
Once the glue was fully cured, I removed the clamps. There were a few rough edges where the new heel didn’t quite match the boot’s shape, so I used a utility knife to trim it carefully, giving it a finished look.
Testing the Repair:
Finally, I gently tested the repair by pressing the heel to ensure it was secure. I wore the boots around the house briefly before taking them out to face the real test of daily wear.
Common Mistakes to Avoid When Fixing a Heel on a Boot:
When fixing a heel on a boot, there’s a right way and several wrong ways to go about it. You should avoid the common mistakes based on my boot repair mishaps.
Choosing the Wrong Adhesive:
In my initial attempt, I reached for a generic superglue, assuming all adhesives were created equal. It held – for all of two hours. I learned the hard way that footwear demands a specialized adhesive that can flex with the foot’s movements and withstand the pressure of each step.
Ignoring the Alignment:
In my rush to fix the heel, I didn’t pay enough attention to aligning it perfectly with the sole. The result was a lopsided boot that felt awkward to walk in. Precision, I discovered, is paramount.
Neglecting Prep Work:
My first go at the repair involved no cleaning or prep work. I didn’t realize the surfaces needed to be free of dirt and old adhesive to form a strong bond. It’s a step that can’t be skipped.
Skipping Clamping:
After applying the glue, I held the heel in place with my hands for a few minutes, expecting it to set quickly. I didn’t use clamps to apply continuous pressure, leading to a weak bond that later gave out while walking.
Preventative Measures to Avoid Future Heel Damage:
Taking preventative measures to avoid future heel damage is crucial, especially if you’ve invested time in repairing a beloved pair of boots or simply want to extend their lifespan. Here’s a personal guide based on what I learned and implemented:
Regular Inspection and Early Intervention:
Now, I make it a habit to regularly inspect my boots, particularly the heels, for signs of wear and tear. Once, I noticed early splitting on the rubber part of a heel and immediately applied a protective sealant, which prevented further damage.
Proper Storage:
I’ve learned that how I store my boots can significantly affect their condition. I keep them in a cool, dry place and avoid piling other shoes on top of them, which I once did and found deformed the heel.
Thoughtful Wear:
I avoid wearing the same boots daily, allowing them to rest and air out between uses. This was only sometimes the case; there was a winter when I wore the same pair almost daily, which hastened the heel wear.
Proper Cleaning:
After each use, I clean off any dirt or debris that could degrade the heel material over time. The mud left on the heel can dry out and crack the material, as I unfortunately discovered one spring. Regular cleaning maintains the integrity of the heel and boot material.
Heel Protectors:
Heel protectors have become my go-to for high-heel boots. These small investments can significantly extend the life of the heels by providing a buffer between the heel and hard surfaces.
Quality Repairs:
If repairs are needed, I opt for quality materials and professional services if I need more confidence in my DIY skills for a particular job. After a DIY repair with substandard glue failed me once, I’ve been more discerning about the material determination and patience; anyone can fix a broken heel on their boots. I hope this guide has been helpful and has encouraged you to try repairing your shoes in the future.
Conclusion:
Fixing a heel on a boot doesn’t have to be a daunting task, as with the right tools and techniques, I successfully fixed the broken heel on my favorite pair of boots without spending money on a professional cobbler. Throughout this experience, I learned that knowing basic shoe repair can save time and money. It is also a valuable skill to have in case of emergencies. Always use proper techniques and tools when attempting shoe repairs to avoid causing further damage. Anyone can fix a broken heel on their boots with determination and patience. I hope this guide has been helpful and has encouraged you to try repairing your shoes in the future.


